High Performance Map Displays
When we decided to further utilize the possibilities that Minecraft maps provide us, we quickly came to realize, that Bukkit's API regarding maps is far too limited in its scope. Here's how we implemented our own map API instead!
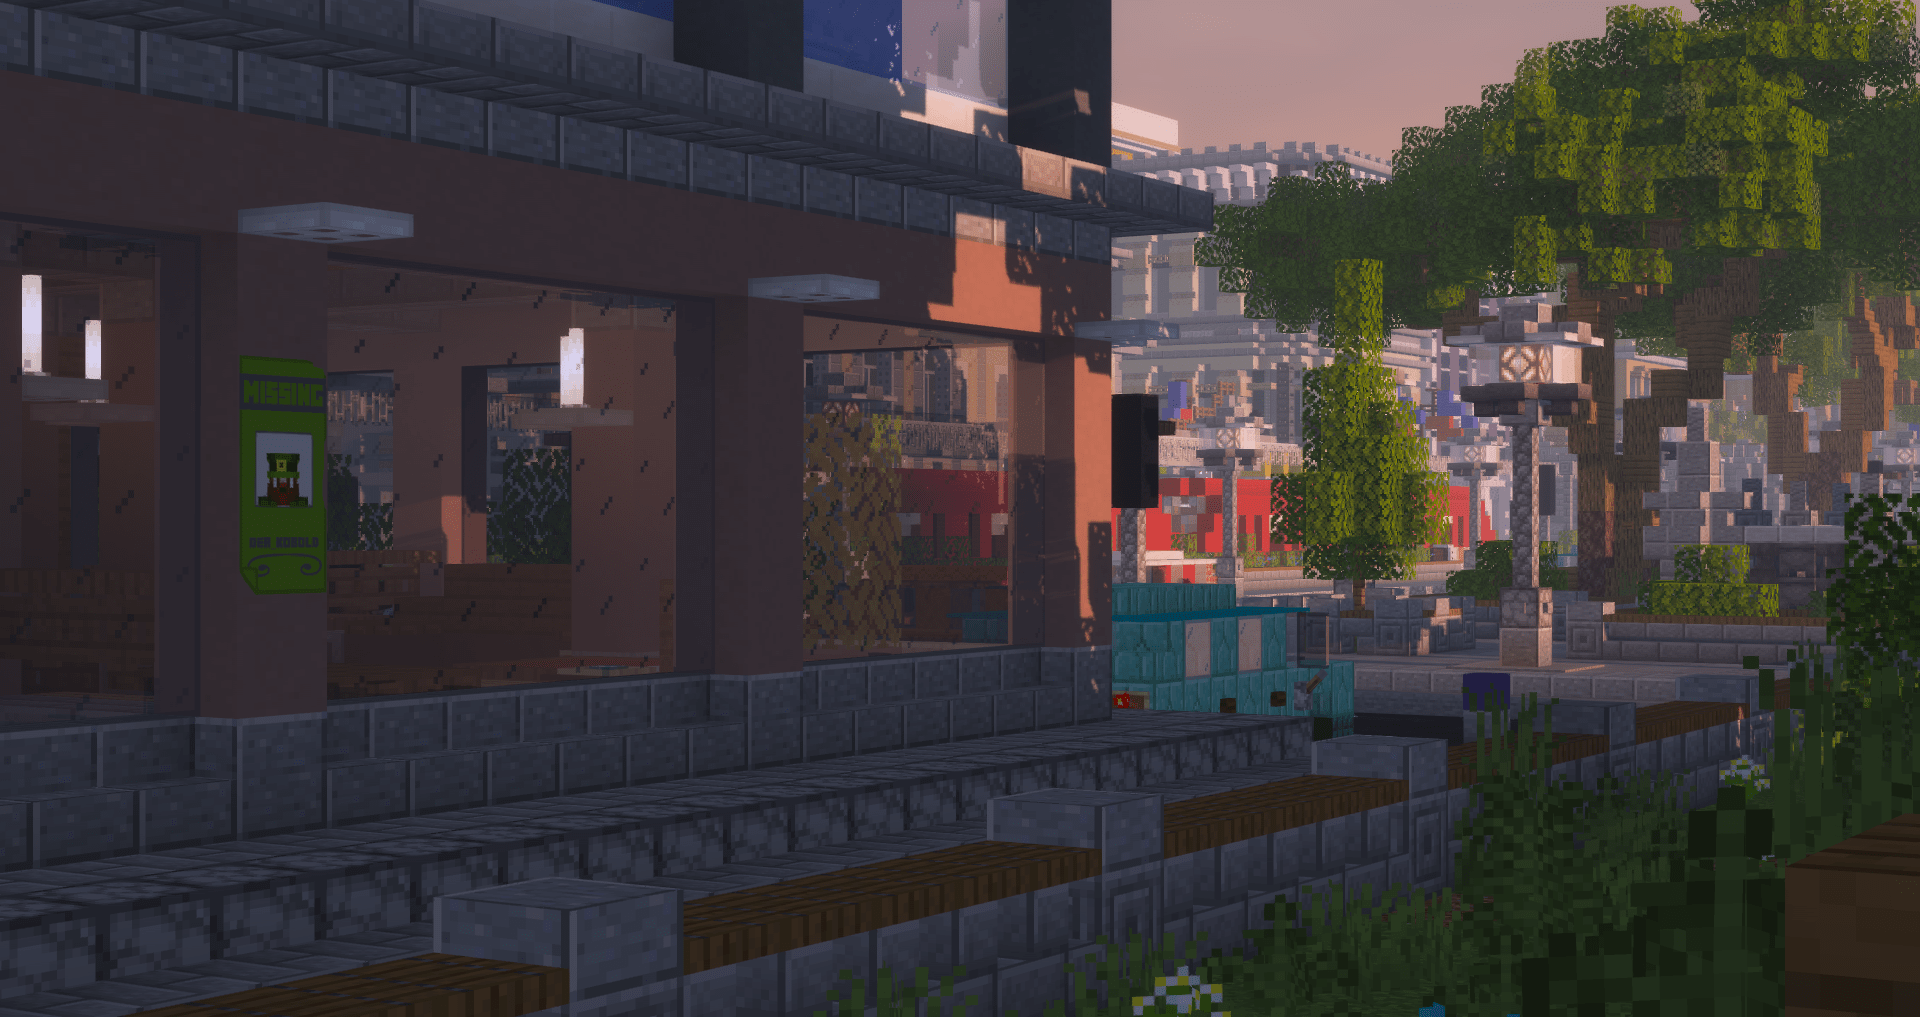
One of the best ways to display a huge amount of data inside of Minecraft within very limited spaces is using maps. They offer a canvas of 128x128 pixels that can be flexibly drawn and changed as often as desired. With Minecraft 1.16 they became even better. The introduction of the Invisible entity tag and the use of transparency within the image lifted maps to a whole new level and made it almost mandatory to utilize them in some way or another.
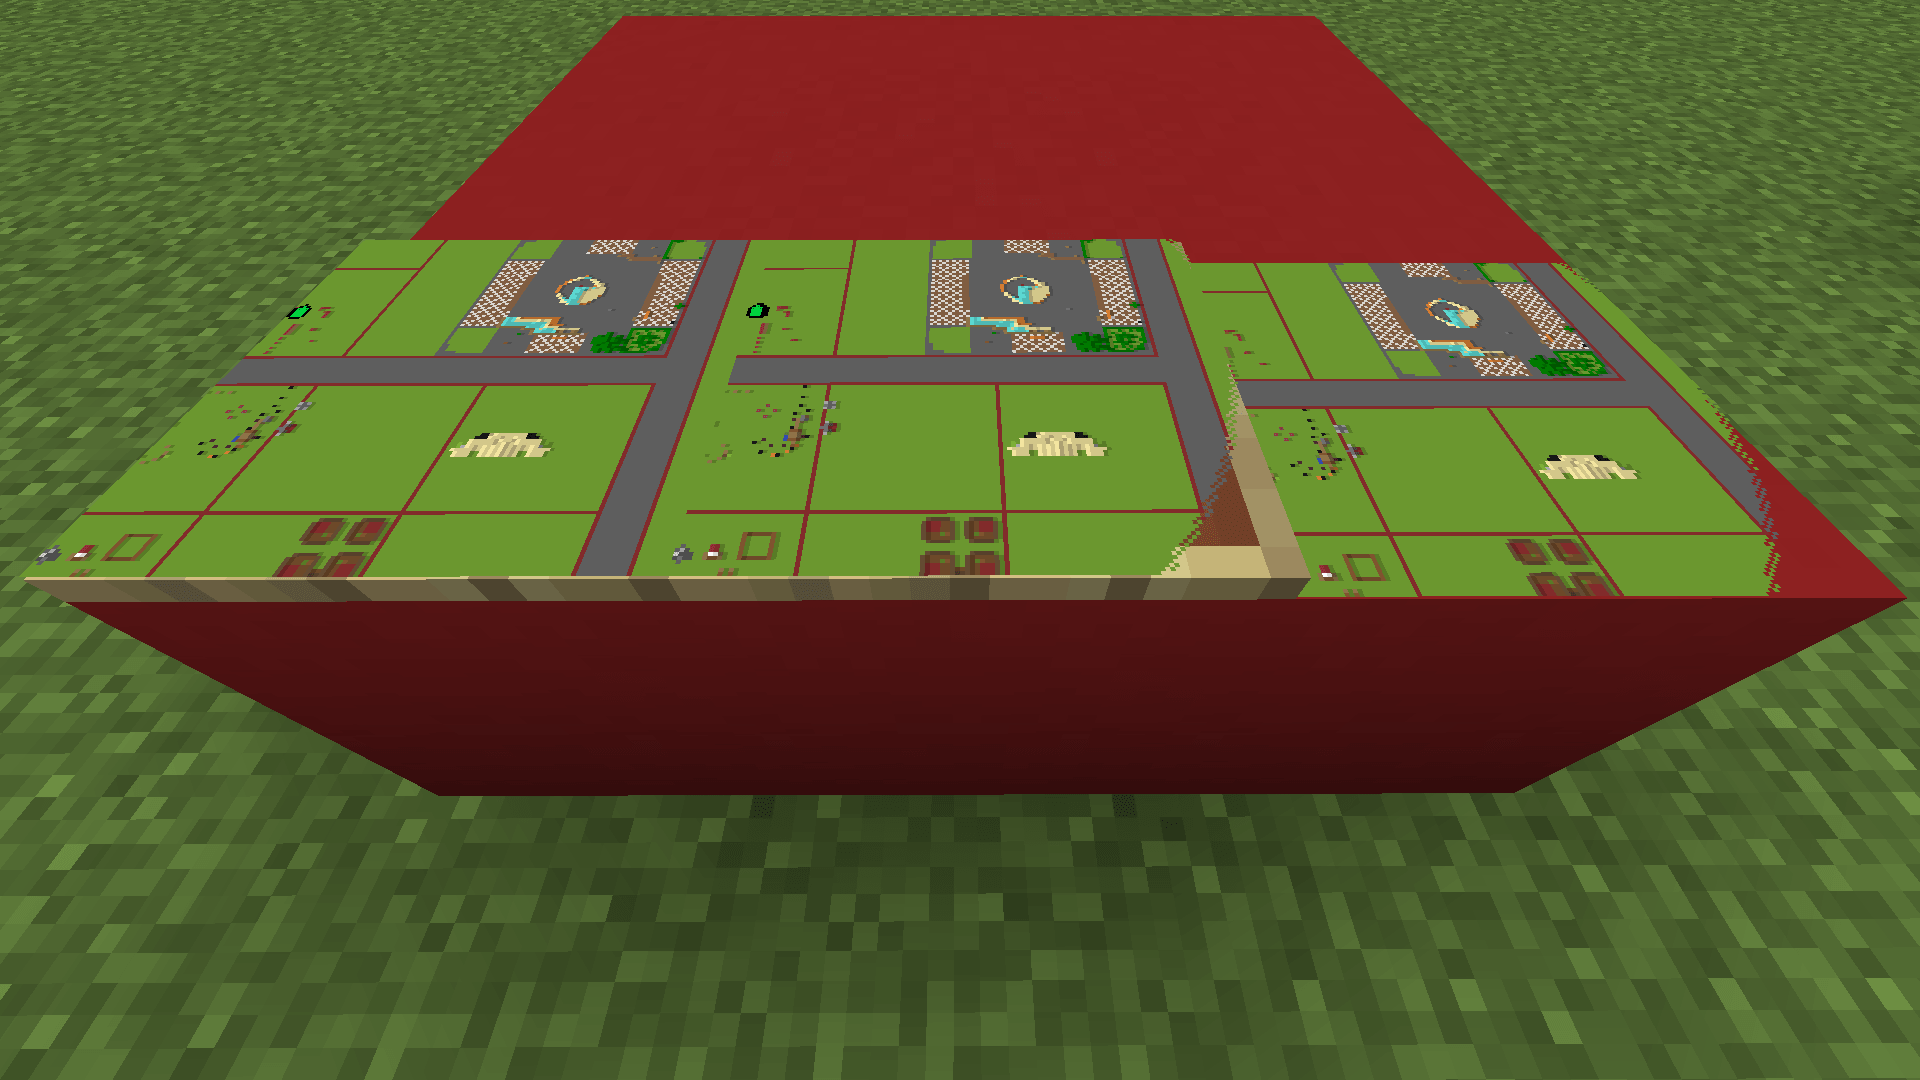
Invisible tag does not only reduce the offset from the attached face of the block but also allows to let the block face look through in transparent areas of the map. This means that maps can now be used as HUDs and overlays, which otherwise would not be possible.So while maps initially look like an easy way to implement flexible textures and interactive displays within Minecraft, we sadly came to realize, that it won't be quite as easy, as it seems.
The Problems with the Bukkit Map API
Bukkit's API regarding maps is very shallow. There are a few aspects that make the API unnecessarily hard to use, limited, and – generally speaking – unfit for anything that is not based on the initial purpose of maps. Anything that involves the artificial generation of maps, using them for dedicated displays, scoreboards, textures, or about anything else, that is not just some "enhanced markers" on the default vanilla map.
So to properly implement our own API, we first needed to get an overview of the exact problems associated with the current solution, so that we won't end up with the same flaws. While there can be many additional factors, that may be problematic, we've compiled a list of all the reasons, why we could not just use the Bukkit API and what we considered during the design of our own API for maps.
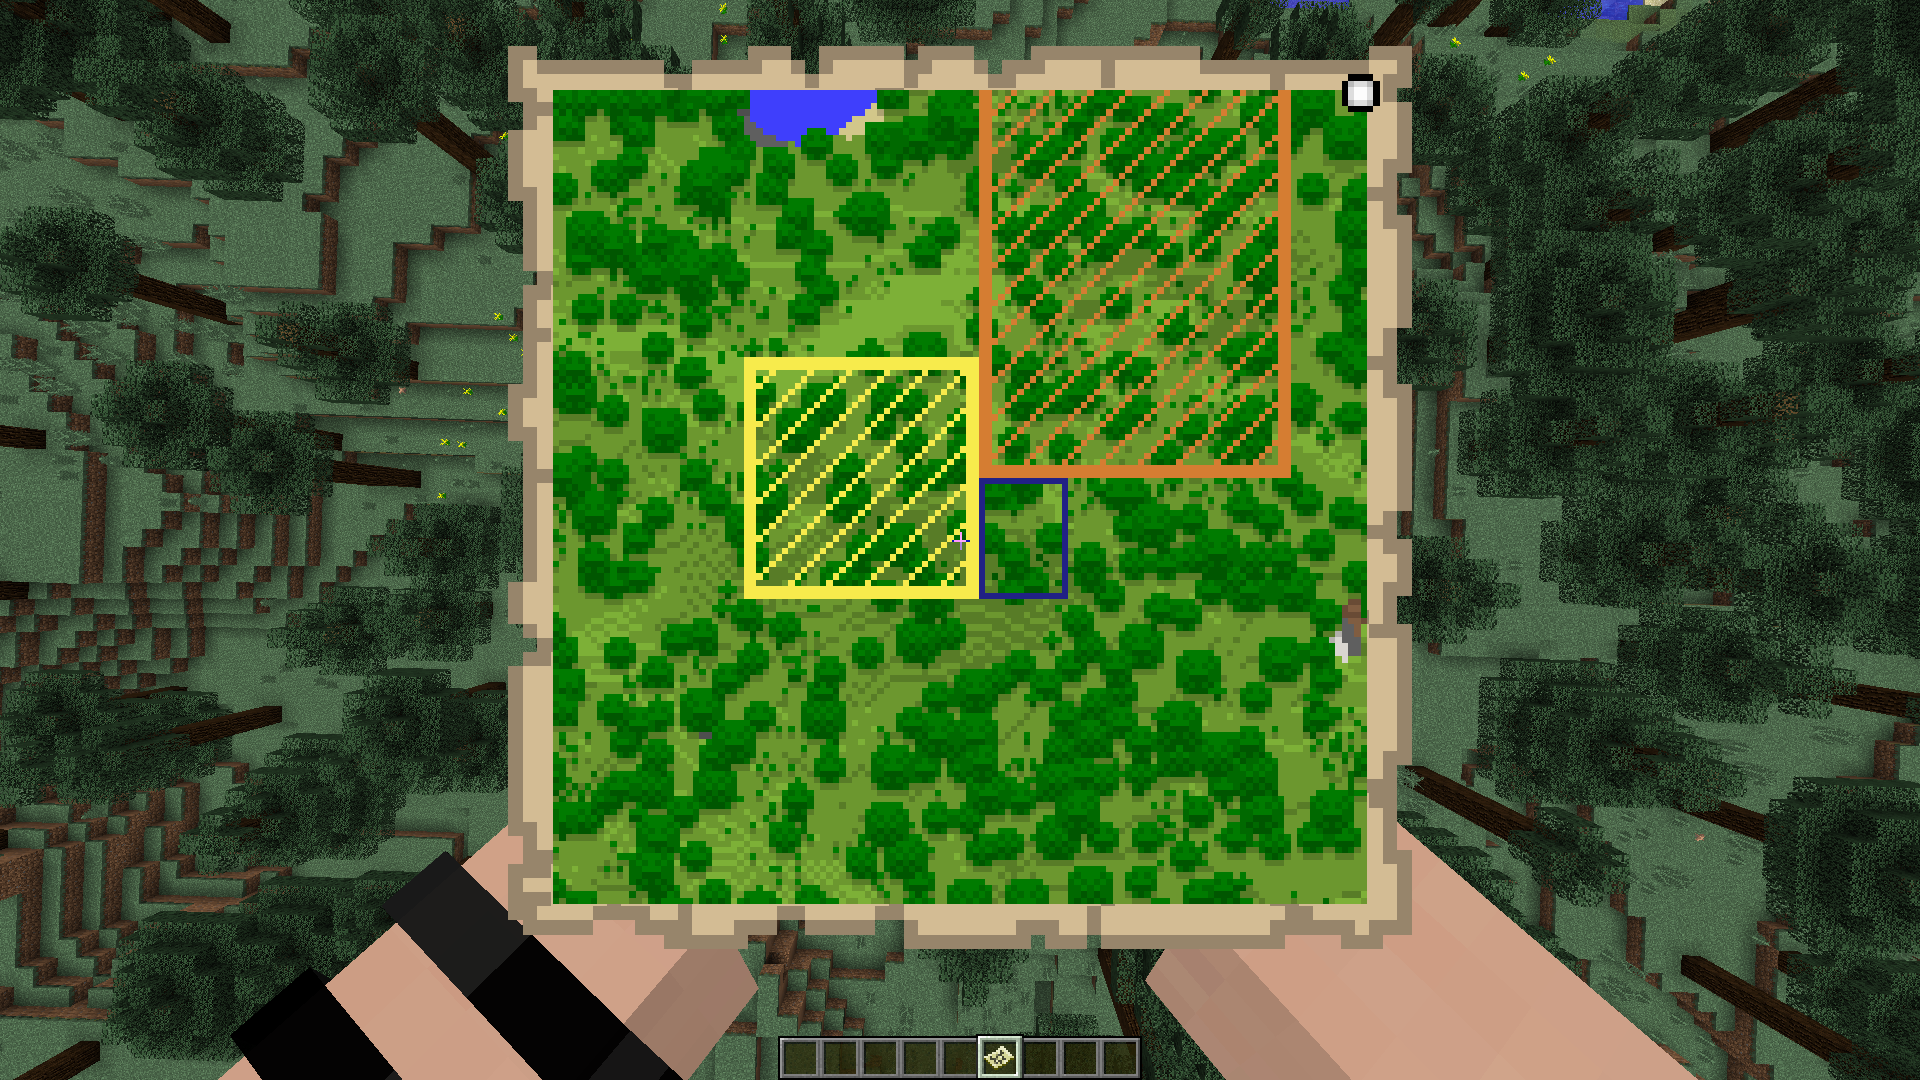
Because this post is more about the design of our new API than about the downsides of the Bukkit API, I'll only briefly explain each of the factors, sometimes simplifying the underlying problem and grouping related problems together.
- Map-IDs
Every time a new map view is allocated, a new map ID is allocated, regardless of whether it is used. That leads to quick exhaustion of the available IDs. Although the ID is now using an integer, if they are regularly used for dynamic things like HUDs, they will be quickly consumed.
This holds to be especially true, when it comes to individual displays, that only some players can see. Once all IDs are spent, existing maps will just be overridden, colliding with real, player-created maps that cannot just be regenerated. Therefore, it is crucial to solve this problem, to be able to use maps without having to think about the incurred cost of ID exhaustion. - Performance (Serverside)
Real maps are generated on the main server thread as they need access to the block grid to generate the default vanilla map. But the main server thread should be blocked for as little time as possible. There is no way in the API to register any kind of async intent and to compute the image content off the main thread.
That means we could either just create very simple images that need little to no computing time at all, or we would have to implement some kind of pre-computation that would store already rendered images in advance. This would, however, still hit the performance and would add much complexity without any real benefit in exchange. - Performance (Clientside)
Not only the server performance suffers from the standard API, but also the client performance. Regularly, the map's content is re-sent to all the surrounding players, even if there is nothing to update. That makes big map walls of something like 30x30 maps impossible. In our own testing clients already started lagging at about 10x10 maps.
When we conducted the same test with our new API, which only sends necessary packets, we were able to successfully watch canvases of 100x100 maps without any noticeable lag. Bukkit is certainly triggering lots of re-renderings by sending duplicate MapData-Packets and that is taking a hit on the observable performance of the client. - Registration instead of applying Changes
The way to alter maps with the Bukkit API is kind of awkward for most use cases. Instead of pushing changes to a new or existing map at the exact moment that you want to alter said map, you have to register your MapRenderer. This has to happen in advance and starting from that moment, you have to hope that this map will soon be scheduled for rendering so that you can modify it.
It makes sense for Vanilla based maps, as they would probably (most of the time) want to act on something that happened to the underlying base layer or the world. In that case, you cannot just push your changes, but you would want to wait for this process of rendering to occur, and then act accordingly. Every other use case is better off with a push-based logic instead of Bukkit's pull-based logic of registering MapRenderers. - Unnecessary Rendering of the Base Layer
The base layer of each map is always rendered, even if it is fully obstructed by the plugin-specific layer. This creates the necessity for the main thread, that I've outlined above and it also takes a substantial amount of computation, even though it uses the internal heightmaps. Therefore, for every virtual map, that wants to display its own content, this step is completely unnecessary. - Unnecessary Layers in General
Speaking of layers, the layer system, in general, was not needed. It somehow makes sense to have layers in an environment with multiple plugins, that may render the same maps. But even then: Some plugin will end up at the end of the rendering chain and its output will be what's seen. Since there is no partial opacity in the map palette, there is little benefit in having individual layers.
The only possible use case, that comes to my mind would be that your layer would only be modified by you, and you could therefore do computations based on the existing pixels of your layer. This would also help if one of the plugins were to de-register for a specific map, as then your plugins layer would take over. Both use cases never occur for us though, so this was redundant complexity. - Slow Color Conversion
The color conversion algorithm of Bukkit is … awfully slow. In fact, the algorithm itself might be more or less okay, but it lacks any caching, making conversion of images dreadful. Every single pixel in every image needs to be color converted. That makes 128 * 128 = 16,384 conversions for a single map image. Since all of those happen uncached, even a layer that is colored in just one hue will also take lots of time. And all of that is not necessary at all, as the lookup results are static. They could even be deployed with the server.jar. - Missing Context of Item Frames
This one is not only about the maps themselves, but also about the Item Frames presenting them. There is no easy way to show item frames only to one player and hide said frames for all other players. Item Frames are always spawned and shown globally, which prevents us from using them as HUDs for individual players, as it would be awkward having hovering displays in front of everyone, that all observing players could see. - Lagging Responsiveness
This problem is caused by a combination of the internal workings of the PlayerMoveEvent and the update schedule (pull-logic) of maps. It is hard to correctly get the point that the player is currently looking at with the PlayerMoveEvent, as the event is only thrown whenever a certain threshold (compared to the last position of the event) was crossed. Therefore, small movements won't ever be visible with this event alone.
Additionally, displaying content on hover is equally as challenging as you'd not only have to take the input lag from the PlayerMoveEvent into account, but the display refresh rate is also a problem. In the end, the display will feel very sluggish, and interaction with the MapScreen won't be a pleasure.
Now that we've talked about all the problems that the Bukkit API for maps has, we can start talking about what we did to find a proper solution for our needs. It is worth noting, however, that the Bukkit API is only partly to blame here. Every API has a limited scope and tries to focus on the primary use of said components.
There are things (like the color conversion), that could be improved, without breaking anything, but most of the aspects, that we highlighted above, cannot be easily changed and also can be considered outside of the scope of an average user (and/or developer). And that's what makes programming so versatile: If you're lacking the tools to properly work with something, you're free to create your own tools, that help you, getting the job done.
The First Attempt
When we first attempted to create an API, we completely relied on Bukkit's API and registered ourselves as MapRenderers for all maps, that were part of a MapScreen. We reacted to PlayerMoveEvents and would then calculate hover events based on the data we collect.
MapScreens are canvases of flexible sizes, spanning one or more real item frame maps (which we call MapDisplays). They are interacted with, as if there would only be one giant display, effectively abstracting away the implementation. So a MapScreen could be a poster, a huge map on the floor, a giant scoreboard, or a single map with an arrow.
The most important things about MapScreens? They can be dynamic and contextual and offer the possibility to interact with them. So they can be used for anything that requires constant updates, involves the observer, or offers interaction possibilities by looking at them.
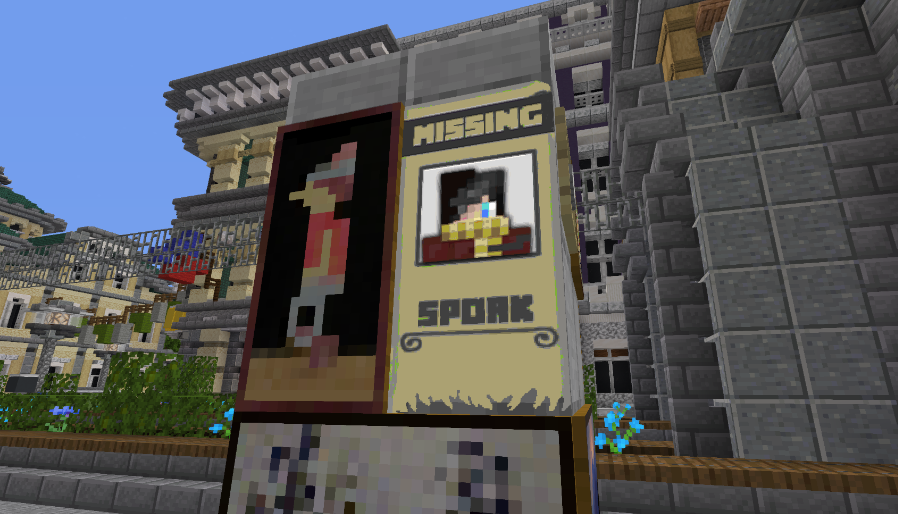
For our initial Bukkit-based API to work, we didn't have to dig deep into the internals of how maps are processed, how colors get transformed, or what difference there is in map rendering in the player's hand or item frames. We extracted the supported RGB colors and published them to Lospec, so that artists could easily create pictures for the limited palette, without having to look into Minecraft's internals.

Even though this kind of worked, it did not really work as well as we wanted it to perform. The responsiveness was sluggish, the displays would take an awful amount of time to initially load (if you joined the server, for example) and the consumption of time for the computations on the main thread was getting out of hand. We had to look for alternatives.
Our Take on an Improved Map API
Because we had already established a somewhat working API, we didn't have to start from scratch. So while someone could argue, that we could've implemented the API in an improved fashion right from the get-go, this approach allowed us to first discover problems in the current design and have a working proof-of-concept first, before investing all the tedious work of actually implementing it the right way. That is the foundation of software engineering: Continuous Improvement. Building on top of what you've already created.
If you talk about performance, the one thing, that immediately jumps to mind, are packets: Raw use of the underlying Minecraft protocol, without any semantic API, and (positively speaking) without any unnecessary clutter as well. We already had experience with emulating entities with packets alone, so we wanted to approach the new API with packets as well.
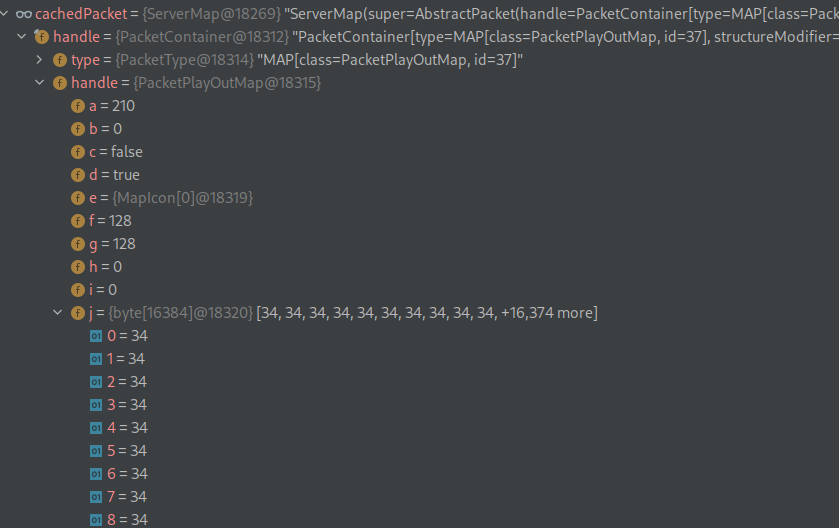
The packet for map data is also very straightforward, can be easily constructed and stored for later use. While packets make updates harder, as we need to resolve protocol changes on our own and cannot just wait for Bukkit to resolve all of those problems for us, we gain more control over what is sent when to whom and how. This approach worked great for us with Holograms (which we use since Minecraft 1.10) and BannerDisplays (which we use since Minecraft 1.12). Although there were some problems, the documentation on wiki.vg is great, and we never had any serious problems updating our library to newer versions.
If you can decide when to send a packet, you could also create MapDisplay, which would refresh much more often or be more accurate than the default tick rate of Minecraft. The video below is the responsiveness of our MapScreens that were implemented with the Bukkit API and the PlayerMoveEvent. Notice, how the cursor is stuttering behind, especially on slow movements. This is caused by the threshold of the event, in conjunction with the fixed refresh rate of MapRenderers.
Now, compare that to the video below, which was implemented with our new API, sent with packets and reacting on every movement, not just big ones. It always detects changes right away, even for micro-movements. That's also why the dot is right at the edge when the cursor leaves the canvas. And the performance with this second approach is on another level as well.
So we decided to make our individual MapDisplays into artificial entities. Those are essentially packet configurations that represent visible and interactable, although virtual entities at specific locations. You can think of artificial entities like dynamic packet bundles, that will be sent to clients on specific triggers and events but will never act on their own.
MapScreens, on the other hand, are artificial entity collections. They can be thought of as registries of one or multiple artificial entities that offer functions for sorting, selection and can be shown or hidden as a whole group. So the MapScreen is the collection of all its containing MapDisplays (artificial entities).

Since MapDisplays consist of both the map as well as the item frame, let's start with the well-established concept of holograms, made from armor stands. A hologram (in our system) is an artificial entity with a single, pre-calculated despawn packet and various pre-calculated compounds of spawn- and meta-packets. The compounds can be either defined globally (SharedHologram) or per-player (PersonalHologram).

To detect when to send the spawn and despawn packets, we monitor multiple events and packet-sends. There is only one send trigger:
- The ChunkData packet: Whenever a ChunkData packet is sent to a player, we search (with the use of a search tree) all artificial entities within that chunk and inject those spawn- and meta-packets into the player connection channel, right after the original ChunkData packet.
Sending is easy, as it will occur on every relevant action like login, switching worlds, teleport, or just running towards a chunk. While we have a similar packet-based logic for the despawn packets, we also implement some Bukkit events to really assure that all entities are initialized and deinitialized:
- The ChunkUnload packet: This packet is only sent when a player builds up enough distance for a chunk to unload locally. While I'm not actually sure as to why there is a packet for this at all (because the client should be able to unload the chunks on its own, based on the configured distance) it's certainly very nice that we can just listen for this packet.
- The PlayerQuitEvent: Because our artificial entities track their current viewers, we also need to deinitialize viewers once they quit. In that case, there are no ChunkUnload packets, as the user will unload all chunks anyways. So to keep the integrity of the current viewers, we also need to unsubscribe the player as a viewer from all artificial entities, so that he can be re-added as a viewer once he enters the server again.
- The PlayerChangedWorldEvent: We have a similar reason for also implementing the PlayerChangedWorldEvent. Again, there are no ChunkUnload packets for world changes, so we need to remove the player as a viewer from all artificial entities in the previous world so that this player can be re-added as a viewer once he goes back to this world.
To properly spawn item frames, we had to invest a lot of time into reverse engineering all of the different states and valid combinations of the internal flags. Item frames don't control their direction by the location alone. Since they attach to specific faces of adjacent blocks, both the location as well as the rotation state, need to be kept in sync. Not knowing about this weird quirk made the process of initially spawning an item frame with a visible map into an exhausting procedure.
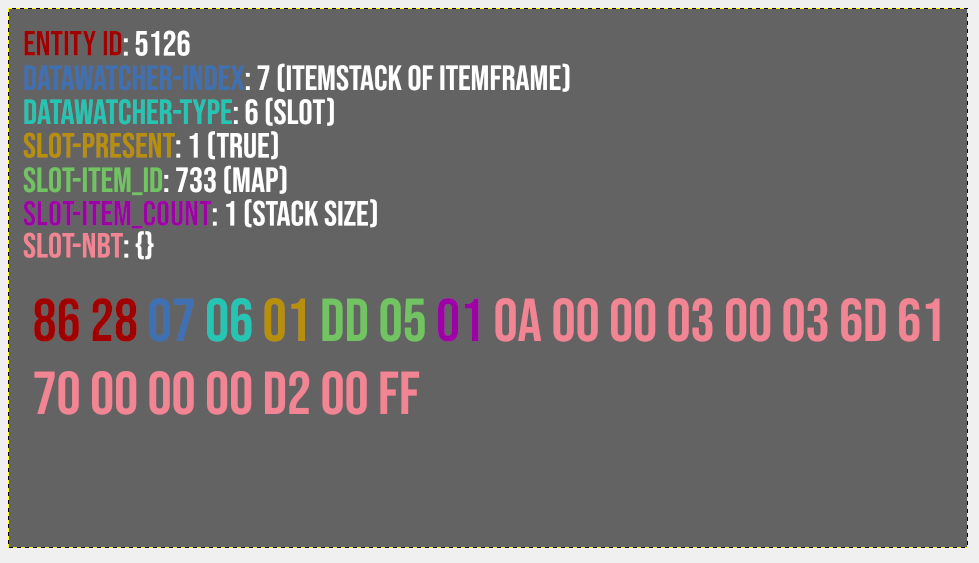
After some time the item frames successfully spawned as artificial entities, and we could finally begin with implementing the actual map rendering. Because of the framework we already created for other artificial entities, the process of spawning and despawning was already stable and we could hook into it. It's hard to believe that all of this was just the preparatory work for our actual objective of creating packet-based MapDisplays.
How we control the rendered Image
Okay, for now, I've only talked about the spawning of the item frames. But the item frames also need a map item, so that we have a canvas that we can render. This step turned out to be very easy. We just create a normal ItemStack and set it as an object in the data watcher. The item creation is also trivial. We do it with our own item builder class (called ItemPreset), but it should still be very clear, which we're doing:
@NotNull
@SuppressWarnings("deprecation")
@Contract(value = "_ -> new", pure = true)
private ItemStack getMapItem(@Range(from = 0, to = Integer.MAX_VALUE) final int mapId) {
    return ItemPreset.createItem()
        .type(Material.FILLED_MAP)
        .modifyMeta(MapMeta.class, meta -> {
            // set the supplied map view for the rendered display
            // this is deprecated, but won't ever be removed
            meta.setMapId(mapId);
        })
        .getItemStack();
}
This method is used to get the map item, which we then assign to the data watcher of the meta packet for the item frame. We work with real Bukkit items, as the construction of the NBT tags would be more of a hassle and ProtocolLib supports ItemStacks anyways.
The magic bit is of course line 10, applying the map ID to the item stack. This information is enough to let the client know, that it should render the item frame as a canvas for the map view with this ID. The ID is generated based on an atomic integer, that starts at ID 1,000,000,000 (so about half of the capacity in the positive direction, that an integer has). This solution is not fail-proof and could eventually collide again with real IDs, but it is far better than assigning real IDs for all of the MapDisplays. The IDs are ephemeral and therefore don't take up space in the ID order.
We initially planned to test whether negative IDs would also be possible (which would actually double the number of available map IDs), but we did not invest more time looking into that, as the current solution is good enough for our use cases, for the time being.
Now that we have working virtual canvases in virtual entities, the only thing that's left to do is the actual rendering. A major motivation to change our API was to get better control over when something is rendered, what will be rendered, and who will be affected by this change. Therefore, we changed from Bukkit's pull-based strategy to an entirely push-based strategy:

There is but one case, where we still have a somewhat pull-like structure and that is for PersonalMapScreens during initialization. Since we do not want to pre-render images for all players that will load this MapScreen eventually, we generate them lazily. There is a method called "getImage", that will lazily generate the initial image for any given player, once it is needed. After the initialization happened, we also go back to exclusively manually updating images.
This approach has many advantages, most prominently: The freedom over triggers that will start a re-rendering of the canvas. We want to update our MapScreens on various occasions: custom events, after a specific time has passed, once a user enters a command, based on proximity of players, etc. Based on the type of MapScreen (shared or personal) used, the changes will be either applied to all players or just specific, selected users.
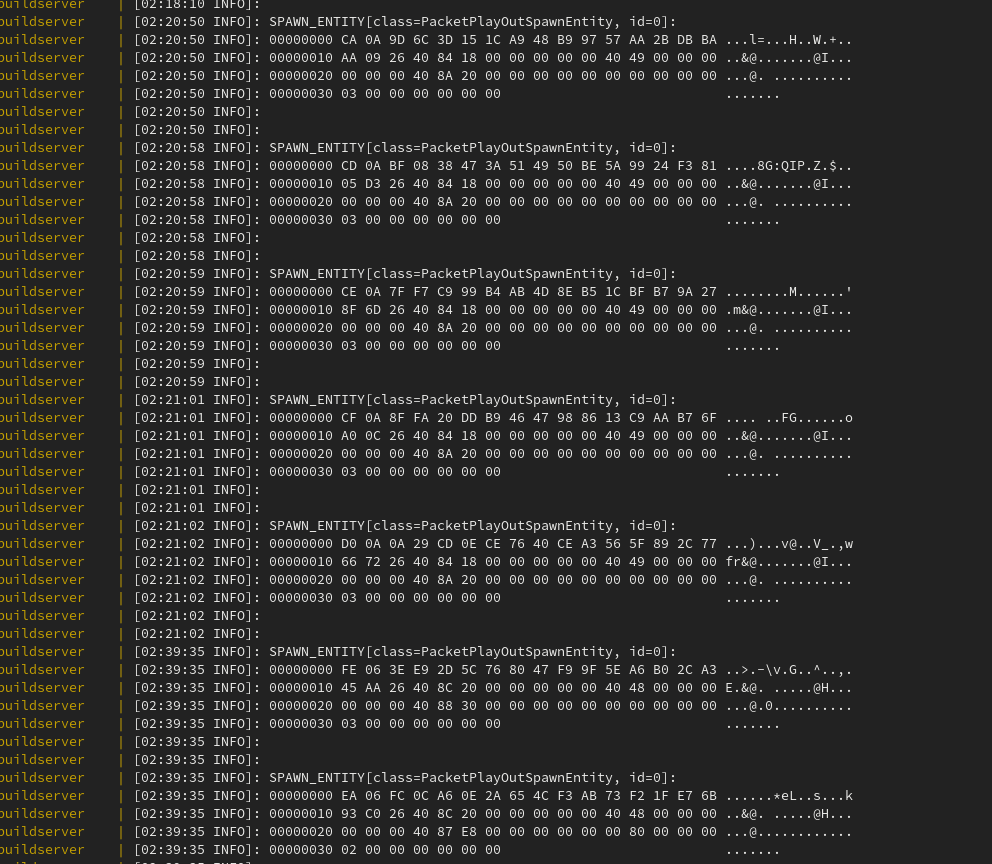
To store the map canvas data locally, we wrapped a normal byte array (as bitmap pictures and Minecraft maps are essentially exactly that) and developed our own data structure that supports blazing-fast modifications of the internal bytes. We support partial and complete overwrites of the image content and calculate the necessary changes on the fly. That means we won't have to think in "components" or "segments" for our images, but really just one big canvas. The main methods are:
@Contract(mutates = "this")
public void setImageRaw(@NotNull final BufferedImage newImage) {
    // directly apply the ARGB color raster to this pixel map
}

@Nullable
@Contract(mutates = "this")
public ServerMap setImage(
    @Range(from = 0, to = Integer.MAX_VALUE) final int mapId,
    @NotNull final BufferedImage newImage
) {
    // apply the ARGB color raster while observing changes to calculate
    // the optimal (minimum) map update packet for observing clients.
}
Depending on whether there are any viewers yet, we can use either the raw method or the normal update method. The difference is that the raw method will directly apply the changed color raster to the underlying pixel map, while the normal update method will also calculate changes and generate an optimized map update packet for observing clients.
Because the "setImage" method is so optimized, we will always get server map packets, that only contain as many pixels as necessary. Working without specific display areas that get refreshed independent of each other gives us the freedom to generate canvases without any strict rules.
We address the whole MapScreen as one giant canvas and always set the image for this screen and not the individual panels/maps that are involved in displaying the canvas. This image is then internally split into sub-images for the individual maps and then applied to the PixelMaps.
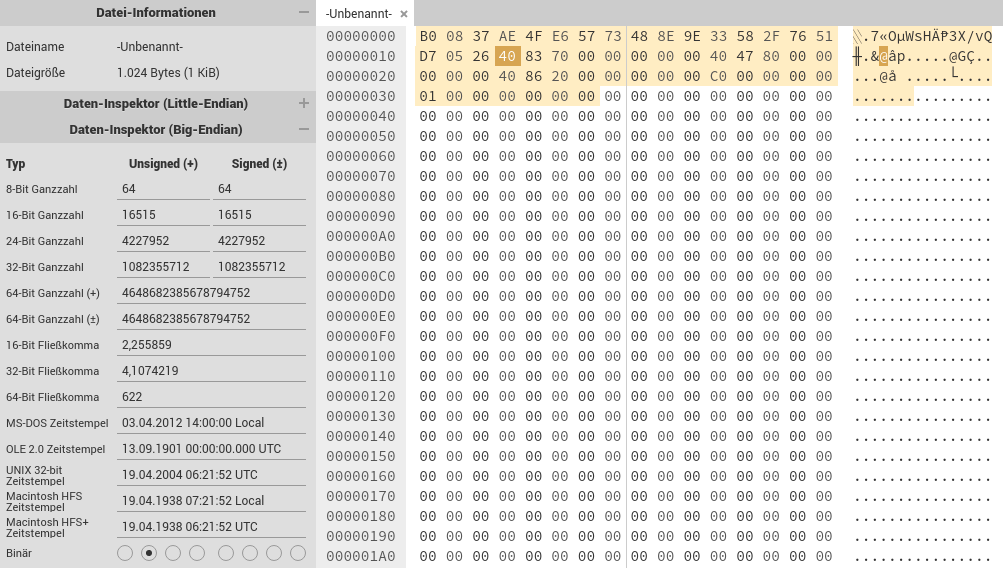
One thing that we want to consider for the future, though, is developing algorithms that help us in finding individual areas in the updated canvas, where their combined area is smaller than the area of the original update area. To understand why that would help, one needs to know, the structure of the Map Data packet. There are four relevant properties:
- X (the offset of columns, from the left-top-corner)
- Z (the offset of rows, from the left-top-corner)
- Columns (the number of columns that are contained)
- Rows (the number of rows that are contained)
So while this data structure is excellent for changes that build one coherent area, it is not optimal for changes that are spread out over the canvas. The problem is not really that much of a problem for us, as (compared to our typical use cases) these few bytes are negligible. But it is certainly something that we want to look into in the future.
Color Conversion
Before I'll finally show how we're using our new API, a quick excursion to color conversion. Minecraft offers a limited palette, that is specialized for their use case of maps: displaying Minecraft materials with different shades (to simulate height differences). This is especially visible in the color wheel of the comparison below:
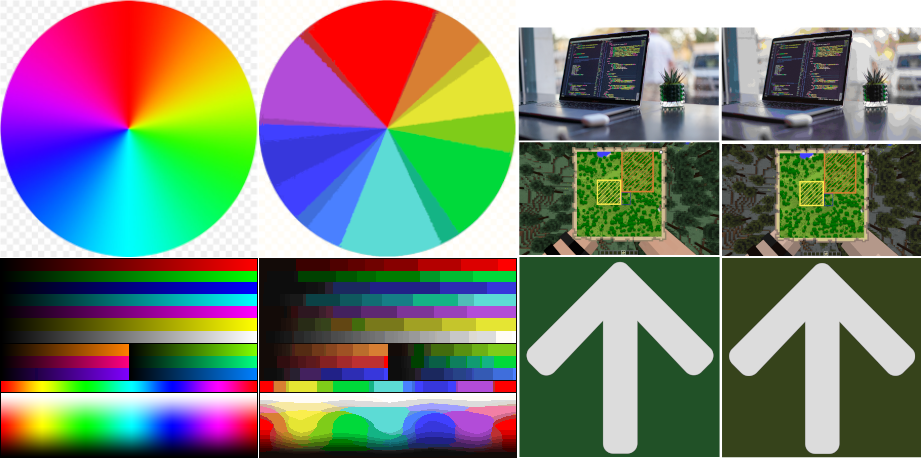
It's easily visible, that the Minecraft color palette is not evenly distributed and can (somewhat) accurately represent bright images without many gradients but quickly struggles to properly display darker hues and gradients between different colors. Because of this uneven distribution, we cannot just calculate the corresponding Minecraft color for a normal RGB color by multiplying it by a factor or anything. We have to compare each Minecraft color with the color in the original image.
Since even a single map consists of 16,384 pixels (as I demonstrated above), that means 16,384 color conversions and since we can only end the comparison early, if there is one color that matches the supplied color exactly, it is fair to assume that this would mean 16,384 * 231 (the number of distinct Minecraft colors) = 3,784,704 color comparisons for a single map. A nightmare for main-thread color conversions. So we decided to optimize this process. Heavily.
First of all, comparing colors and their distance to each other is weird. Because you can't just compare their numerical difference like:
rgb(2, 3, 2) - rgb(1, 1, 1): „Oh, that's a difference of (1, 2, 1)!“
That is not possible. Instead, there exist multiple algorithms that try to get their results as close to the perception of the human eye as possible. And as every skilled software developer would do, we took out our calculators, scratched our heads over it, and … went to StackOverflow (thank you, fellow StackOverflow users.). With the C code that was shown there, we came up with the following method to get the color distance between our color (the argbPresetColor) and the Minecraft color (comparisonColor):
@Contract(pure = true)
@SuppressWarnings("checkstyle:magicnumber")
private double getColorDistance(
    final int argbPresetColor,
    @NotNull final Color comparisonColor
) {
    // unwrap the raw color values from the preset color
    final int presetRed = (argbPresetColor >> 16) & COLOR_PART_MASK;
    final int presetGreen = (argbPresetColor >> 8) & COLOR_PART_MASK;
    final int presetBlue = argbPresetColor & COLOR_PART_MASK;

    // unwrap the raw color values from the comparison color
    final int comparisonRed = comparisonColor.getRed();
    final int comparisonGreen = comparisonColor.getGreen();
    final int comparisonBlue = comparisonColor.getBlue();

    // calculate the mean between both red values
    double redMean = (presetRed + comparisonRed) / 2D;

    // calculate the differences in the three color layers
    int diffRed = presetRed - comparisonRed;
    int diffGreen = presetGreen - comparisonGreen;
    int diffBlue = presetBlue - comparisonBlue;

    // calculate "arbitrary" weights for color differences (as perceived by the human eye)
    double weightR = 2D + (redMean / 256D);
    double weightG = 4D;
    double weightB = 2D + ((255 - redMean) / 256D);

    // calculate the weighted difference between all the layers
    return weightR * diffRed * diffRed
           + weightG * diffGreen * diffGreen
           + weightB * diffBlue * diffBlue;
}
If you've looked at the code in the StackOverflow answer, you can see that we've made it more readable and maintainable. We had to reverse-engineer the algorithm to make educated guesses about what each variable was meant to be.
With this algorithm, we could now get the best matching Minecraft colors from any submitted ARGB color. Maybe you've already asked yourself (or you already know) what the A of ARGB stands for. It's the alpha layer. So in other terms: The opacity/transparency of this pixel. Minecraft does not support partial opacity. It only knows completely transparent or completely opaque pixels. We followed Bukkit's convention and deemed all pixels with an opacity of less than 50 % as transparent and all other pixels as opaque.
The rest of the lookup is very similar to Bukkit's strategy, except for … our biggest weapon in accelerating lookup speeds: Heavy caching and pre-translation of color mappings. Our cache consists of a single byte array with a length of 1 << 24 = 256 * 256 * 256 = 16,777,216. So as you can see, that's one huge array. Since it is a byte array it roughly (ignoring array metadata) takes about 16-17 MB of RAM.
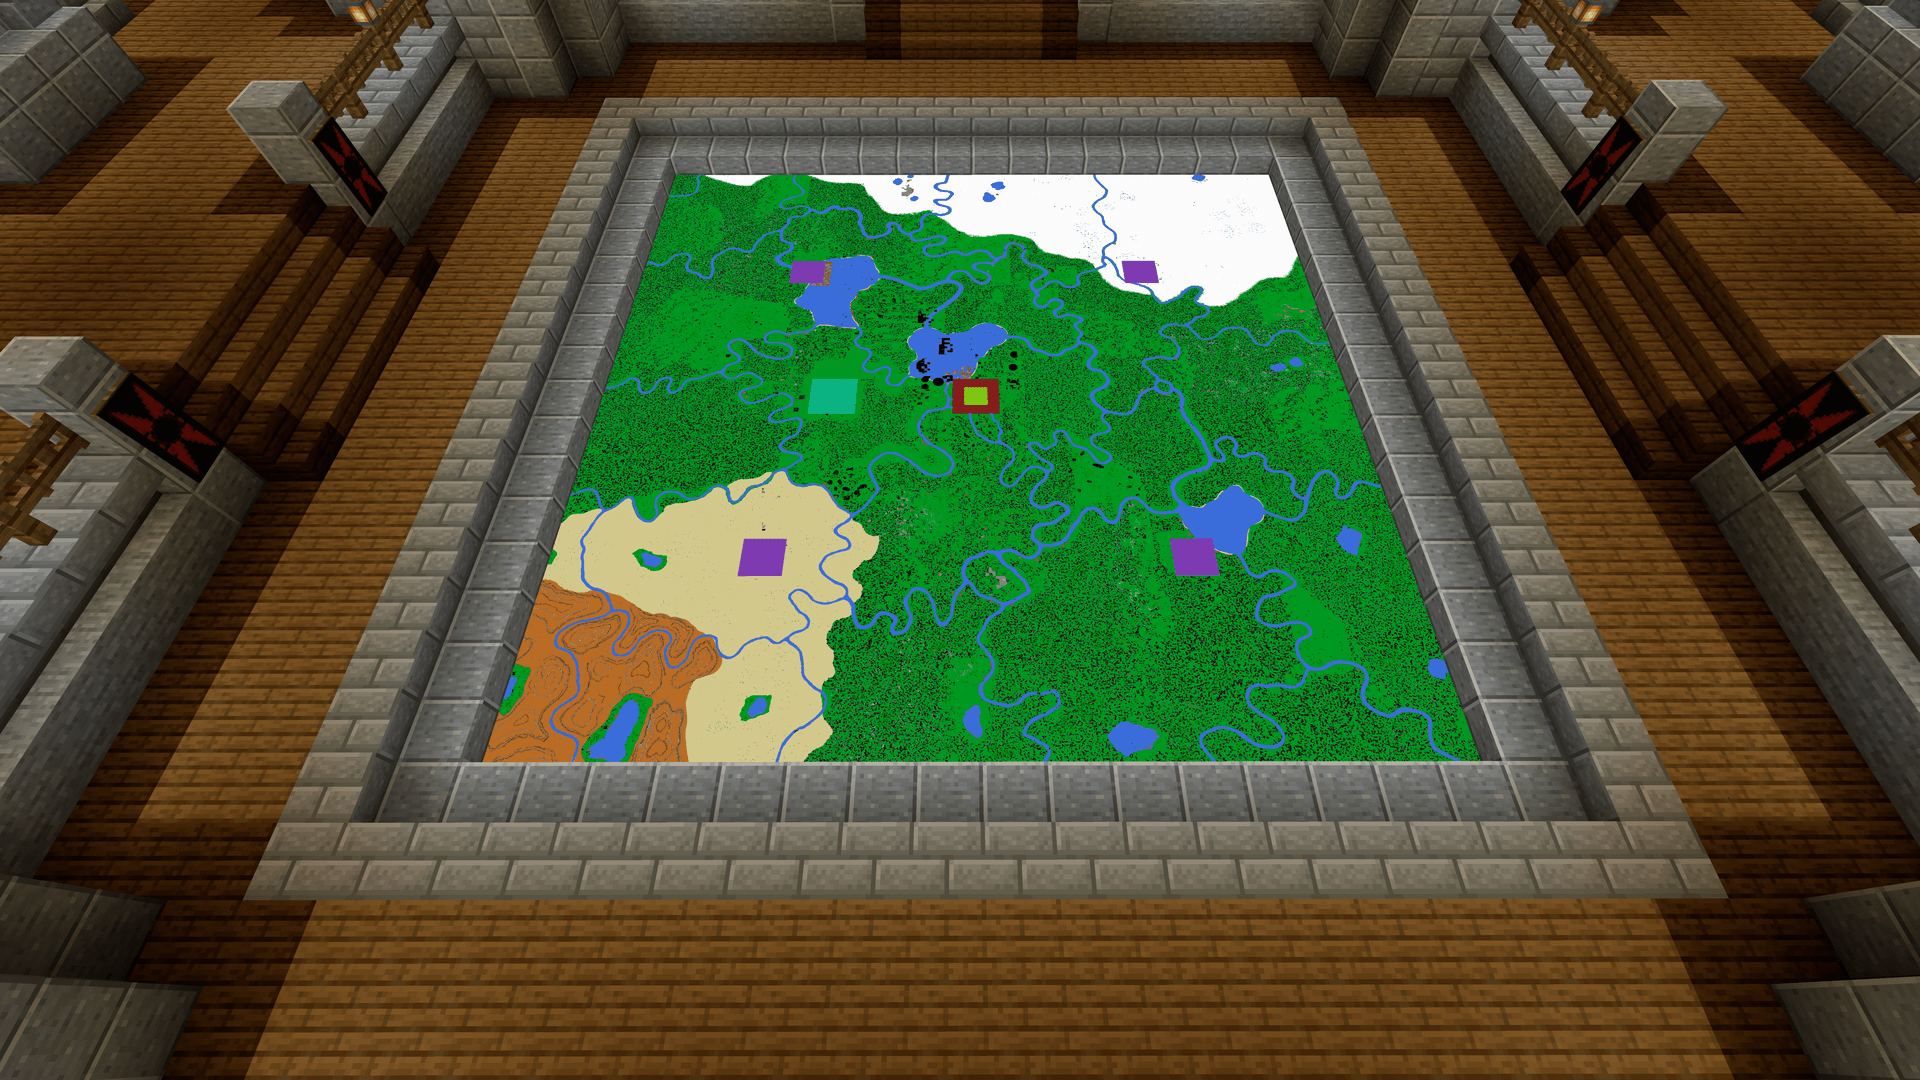
But since we already have an integer, that represents the individual colors, we only need to drop the most significant 8 bits (that are the alpha layer) and we have 24 bits of entropy, resulting in the unsigned values of 0 to 16,777,215 – the exact same size of our array. That means if we ever converted a color before, we can absolutely instantaneously get the converted color again (at the price of 16-17 MB of RAM).
And because we can pre-calculate those values, we've also gone ahead and supplied our server images with binary mapping tables that can be imported so that all colors can be mapped out of the box (without ever calling the color distance method). The generation of this binary mapping table takes about 32s, the import takes less than a second.
Additionally, we plan to translate all static images, that we use in the server, in advance and not embed them as PNGs but as binary files that are already in the color palette that Minecraft expects, so that we won't have to do any translation at all. The translation would then happen as a part of our build process within Gradle. That would enable us to still work with them as images, but having the best possible performance in the production environment.
On our Use of the new API
The use of shared MapScreens is especially easy and if their content is static, they only need to be constructed and initialized, everything else happens automagically in the background. The same goes for the registration as an artificial entity. See this code example for reference:
// create a new fixed, reusable map screen instance
final FixedSharedMapScreen poster = new FixedSharedMapScreen(
    // this "selection" can be imagined as something like
    // a WorldEdit selection, that groups the blocks that
    // should be part of the canvas.
    posterLocation.getSelection(),
    // this is the face of the selected blocks, that the canvas
    // should attach to.
    posterLocation.getFace(),
    // this controls interactions and all parameters are optional.
    // we can also react on hover, hoverEnter and hoverExit
    new InteractionProfile(
        // the click interaction consumer
        (player, x, y) -> player.sendMessage(Component.text("Clicked at " + x + ", " + y + "!")),
        // the maximum interaction distance
        10,
        // some check for the interaction
        player -> player.hasPermission("some.permission")
    ),
    // the initial image that should be rendered on the canvas
    posterImage
);

// this "manifests" the display in the world, so that players can
// see it and interact with it. Of course, since this is entirely
// packet based, it is not really added to the world, but hooked
// into our artificial entity system that then does the sending.
poster.initialize();

// this would internally and visibly change the displayed image
// for new and existing viewers. If there are no viewers at all,
// no update packet is generated and sent
poster.changeImage(anotherImage);
This is only a small example without any real dynamic or contextual content and hover-interactions, but it shows how our API is used in general. Any MapScreen may be initialized and deinitialized multiple times during its lifespan. The MapScreen can also be re-located and so reused in another spot.
We usually create MapScreens for specific tasks once and re-use them afterward, initializing and deinitializing them as needed. Even though the creation is very cheap, it does save some map IDs, so it's a good practice to reuse those objects. You can see more examples of what is possible with those maps on our server JustChunks, once it is open to the public.
Did you like this Post?
If you (ideally) speak German, and you are interested in working in a friendly environment with lots of interesting technologies, experimentation, and passionate other people, feel free to reach out to us! We're always looking for new team members. For contact information and an overview of our project, the skills you need to possess, and the problems you'll be facing, head over to our job posting!
We're constantly working on exciting stuff like this and would love you to take part in the development of JustChunks. If you're just interested in more JustChunks related development or want to get in touch with the community, feel free to read our weekly, german recaps here or hop on our discord server!
Our Discord server for JustChunks. Join our community, discuss our development or propose changes to features. If you'd like to talk with us, that is your point to go!